
Lists
Lists, Web Design के Fundamental Component हैं| जो Information को Structured और आसानी से Digestible Manner से Present करने के लिए Organizational Tool के रूप में कार्य करती हैं। Web Development में, आमतौर पर दो Primary Type की List का Use किया जाता है- Unordered Lists और Ordered Lists।
Unordered List
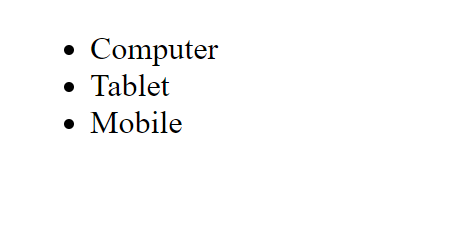
HTML में <ul> Tag द्वारा प्रदर्शित Unordered List, Item को Bullet या Unordered Fashion से Display करती हैं। ये List बिना किसी विशेष Sequence या Hierarchy के Information Display करने के लिए Ideal हैं। आप इसकी Styling भी कर सकते है|
- disc – यह List Item को Bullet में Set करता है।
- circle – इसके द्वारा List Item को Circle में Set किया जाता है।
- square – यह List Item को Square में Set करता है।
- none – इसके द्वारा List Item दिखाई नहीं देता है।
Example:
Output: Ordered List
 Ordered List
Ordered Lists, जिन्हें HTML में <ol> Tag द्वारा Denoted किया जाता है, <ol> Tag का Use Item को Sequentially रूप से Numbered या Alphabetically रूप में Ordered Format में Present करने के लिए किया जाता है। प्रत्येक List Item को एक Number या Letter से Marked किया जाता है, जो Content को एक Clear Hierarchy Provide करता है।
The Type Attribute in Ordered List
Ordered List में Type Attribute का use List Style Type को Define करने के लिए किया जाता है| By Default <ol> List में List Items के लिए “Number” का use किया जाता है|
- Number (Default) – 1
- Uppercase Letter – A
- Lowercase Letter – a
- Uppercase Roman Number – I
- Lowercase Roman Number – i
- None
Example:
Output: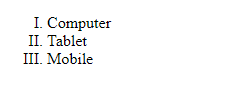
Definition List
HTML में एक Definition List Term और उनकी Corresponding Definition की एक List है। इसे <dl>, <dt> और <dd> Tags का use करके बनाया जाता है।
<dl> Tag का use Definition List Create करने के लिए किया जाता है, जबकि <dt> Tag का use Term को Define करने के लिए किया जाता है, और <dd> Tag का use इसकी Corresponding Definition को Define करने के लिए किया जाता है।
Example:
Output: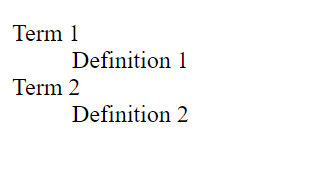 इस Example में, Terms “Term 1” और “Term 2” हैं, और उनकी Corresponding Definition “Definition 1” और “Definition 2” हैं।
Information को Clear और Concise Manner से Organize करने के लिए Definition List का use किया जा सकता है। वे अक्सर Glossaries, Dictionaries और अन्य प्रकार की Reference Material में use किए जाते हैं।
Default Styling के अलावा, Definition List को आपके Webpage के Design से Match करने के लिए CSS (Cascading Style Sheets) का use करके Style किया जा सकता है। इसमें Term और Definition के Font, Font Size, Color और Space को बदलना शामिल हो सकता है।
Image Tag
Image, Webpage को ज्यादा Attractive और Beautiful बनाती है| Readers भी बिना Image के साथ बनाए गए Webpage की Comparison में Image के साथ बनाए गए Blog Post को ज्यादा Like करते है| इसलिए HTML में Image Element को जोडा गया है| Image Element का use HTML Document में Picture Insert करने के लिए किया जाता है| <img> Tag द्वारा Image को Define किया जाता है|
एक HTML Document में विभिन्न Format में Images को Insert किया जा सकता है| आप PNG, JPEG, GIFs, आदि Format में Image को Add कर सकते है| हम जिस भी Format में Image को Use करना चाहते है, उस Format को हमे बताना पडता है|
Image Element Attributes
- src – इस Attribute का use Image के Source URL को Define करता है|
- alt – इस Attribute से Image के बारे में बताने के लिए किया जाता है|
- style – Style Attribute से Image पर CSS Rules को Apply किया जाता है|
- width & height – ये दोनो Attributes अलग-अलग use किए जाते है| इनके द्वारा Image के Width और Height को Define किया जाता है|
- align – इसके द्वारा Image Alignment को Define किया जाता है|
- border – Image Border को Border Attribute से Define किया जाता है|
- title – Image को Title देने के लिए इस Attribute का use किया जाता है|
Example:
<!DOCTYPE html>
<html>
<head>
<style>
.center {
display: flex;
justify-content: center;
align-items: center;
height: 100vh; /* This ensures the image is centered vertically */
}
</style>
</head>
<body>
<div class=”center”>
<img src=”image.jpg” alt=”Image” />
</div>
</body>
</html>
Output: